A fire-rated wall penetration record is an index, not a field-designed firestop detail. It connects each opening to the approved wall assembly, penetrating item, listed protection system, installation documents, responsible trade, inspection, and final photo set.
The code official, design professional, approved plans, tested systems, listed products, manufacturer instructions, and project firestop program govern the work. This article does not select a system, approve an engineering judgment, or authorize a substitution.
Start with the rated-wall register
- Wall ID, floor, grid, room, start and end points, and rating.
- Assembly design number, current approved detail, stud, board, layers, joints, insulation, and continuity.
- Head-of-wall, base, perimeter, opening, and intersecting assembly requirements.
- Responsible designer, general contractor, drywall trade, MEP trades, firestop installer, and inspector.
- Latest drawing, specification, submittal, RFI, and change revision.
The Gypsum Association's GA-600 manual lists hundreds of fire- and sound-rated systems. The hourly rating belongs to the complete tested or approved assembly, not to gypsum board or joint compound in isolation.
Give each penetration a unique ID
| Field | Record | Evidence |
|---|---|---|
| Location | Wall ID, side, grid, height, room, photo marker | Plan and wide photo |
| Opening | Through or membrane; shape; dimensions; annular space | Measured pre-install photo |
| Penetrant | Pipe, conduit, cable, tray, duct, box, mixed group; material and size | Trade and product record |
| System | Listing or approved detail, product, backing, depth, fill, spacing, limitations | Current submitted system |
| Release | Installer, date, inspection, deficiency, correction, acceptance | Signed log and final photo |
Distinguish through and membrane penetrations
UL describes a through penetration as an opening through the entire rated assembly and a membrane penetration as an opening through one side, such as a recessed electrical box. The protection and permitted conditions depend on the assembly, item, spacing, product listing, and code criteria. Do not copy a detail from a visually similar opening without verifying every condition.
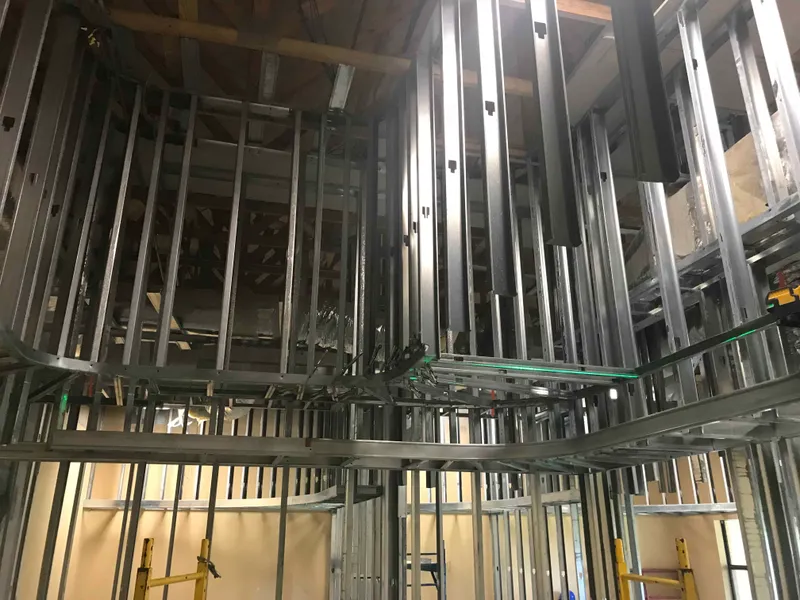
Coordinate before board closes the wall
- Reserve routes, sleeves, access, support, and separation for known services.
- Confirm which trade creates openings and which trade seals them.
- Protect board edges, framing, insulation, joints, and required backing.
- Identify oversized, abandoned, temporary, relocated, and grouped penetrations.
- Resolve boxes or services on opposite wall faces against the approved assembly and listing.
- Schedule photos and inspection before ceilings, shafts, casework, or equipment remove access.
Use a system-condition checklist
For the selected listed system, record the exact wall construction, rating, penetrant material and size, opening dimensions, annular-space range, insulation, sleeve, backing, packing, sealant or device, depth, bead or crown, orientation, and movement or environmental limits. If any field condition falls outside the listing, stop and route the variance through the project's approved process.
Control repairs and later trade damage
A passed inspection does not protect the wall from a later cable, enlarged hole, removed seal, added box, or damaged gypsum membrane. Keep the wall and penetration IDs visible through commissioning, train follow-on trades on the change process, and require a new record for every added or altered opening.
Close out for future inspection
- Rated-wall plan with penetration IDs.
- Approved assembly and firestop-system documents.
- Product data, lot information when required, installer qualification, and inspection reports.
- Before, during, and final photos tied to each ID.
- Deficiency, correction, reinspection, and acceptance status.
- Owner process for future penetrations, maintenance, and damaged seals.
Technical references
- UL Solutions: Membrane Penetrations in Fire-Resistance-Rated Walls — through/membrane distinction and listing conditions.
- UL Solutions Firestop and Joint Application Guide — code, listing, inspection, and system-selection context.
- Gypsum Association GA-600 — current fire-resistance and sound-control design manual.